
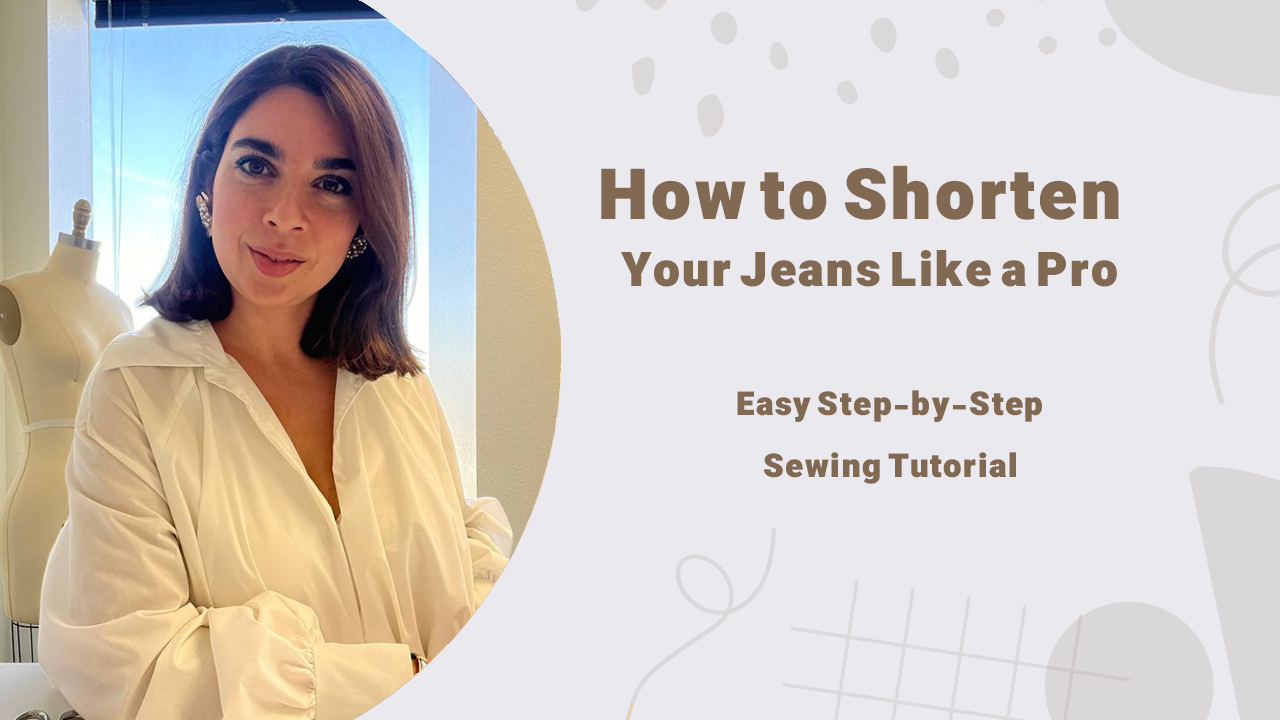
In this video, I’ll show you how to shorten your jeans with a professional finish using simple sewing techniques. Whether you’re a beginner or experienced with a sewing machine, this step-by-step tutorial will guide you through the process for a clean and polished look.
Step-by-Step Guide to Shortening Your Jeans:
1.Mark the Desired Length – Wear your jeans and use a fabric marker to mark where you want them to end. Ensure both legs are even.
2.Measure & Mark the Cutting Line – The original hem is typically about half an inch. Mark an additional line slightly above the desired length to create space for the new hem.
3.Cut the Excess Fabric – Use sharp fabric scissors to cut along the marked line. If you want to keep the original hem look, make sure to follow the method shown in the video.
4.Sew the Hem – Adjust your sewing machine to a zipper foot setting for better precision. Use a straight stitch to sew close to the edge, keeping the hem neat and durable.
5.Iron for a Polished Finish – After sewing, press the hem with an iron to flatten the fabric and give your jeans a smooth, store-bought look.
Pro Tips:
✔️ Use a matching thread color for a seamless finish.
✔️ If you don’t have a sewing machine, consider hand-stitching or using hemming tape.
✔️ Watch until the end for extra tips on securing the fabric and making your jeans look professionally tailored.
If you found this tutorial helpful, don’t forget to like, comment, and subscribe for more DIY fashion tips! Let me know in the comments if you have any questions. ????
Leave a Reply